Posted by Channin Pelletier
on January 10, 2023


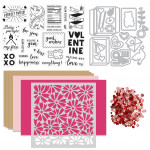
Hello friends!! It’s Channin here and today I create a fun and EASY interactive card with the new January 2023 My Monthly Hero Kit . Check out the video below and/or read the following post to learn how I use the matchbox dies to create an opening box that reveals a fun surprise.
Watch below or HERE on the Hero Arts YouTube channel.
To create this card I first trimmed some Peony cardstock down to create a 5 1/8” x 3 7/8” panel. I then placed the included stencil over the panel and ink blending with several inks to create a gradation ( Papaya , Fruit Punch , Raspberry Jam , Unicorn & Passion Flower ).
After I finished ink blending the panel I then adhered it to the front of an A2 top-folding Dove White card base. Next, I used the two “LOVE” dies together to die cut a scrap of Peony cardstock then I discarded the Peony letters but saved the negative. I then die cut just the letters out of Ultra Pink , Passion Flower , Papaya & Coral cardstocks and set them aside.

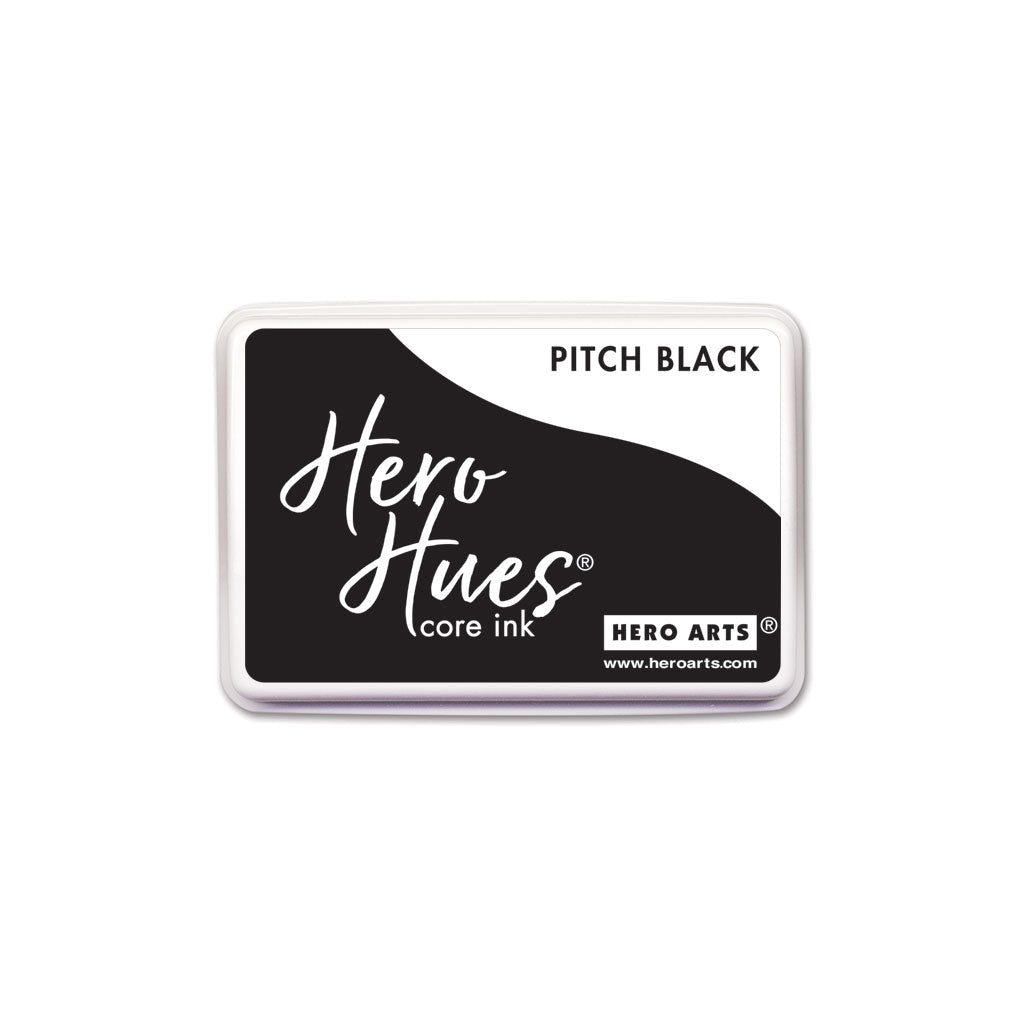
I then die cut the matchbox cover and box out of Dove White cardstock. Next, I stamped “filled with” onto the matchbox cover in Pitch Black ink. I then re-inforced the score lines with my bone folder and score board and constructed the cover by folding the tabs to the backside.
Next, I adhered and inlaid the “LOVE” die cuts to the cover. Then with the gem heart die, I die cut two gems out of the same colored cardstocks I used for the “LOVE” letters. I then adhered the gems to the matchbox box.
Next, I stamped “you’re a gem” onto a scrap of white cardstock. I then fussy cut the sentiment out and adhered it over the gems.

Next, I began to build my interactive element by first adhering a 1/4” strip to the top of the tabs on the backside of the matchbox cover. I then scored and folded a 6 1/4” x 5/8” strip of white cardstock in half and adhered it to the backside of the matchbox box. Next, I fed the matchbox box through the cover, also making sure to keep the un-glued half of the strip out of the cover. I then glued the two strip halves together at the upper 1/4” of the folded strip.

I then die cut a second matchbox cover out of white cardstock and trimmed off the tabs. I adhered the second cover to the backside of the cover to complete my interactive matchbox. Lastly I finished the card by adhering the matchbox to the card front with foam adhesive.
I hope you enjoyed today’s card and video! Thank you so much for stopping by!

|