Video: Offset Layering Valentine's Day Card - Hero Arts
Posted by Natasha Polite on January 29, 2024

Video: Offset Layering Valentine's Day Card

Hi crafty friends! Natasha Polite here sharing a card featuring offset layering of die cuts that is filled with hug and kisses, making it perfect for this Valentine's Day season.

(If you are having trouble viewing this video, please watch HERE on YouTube.)

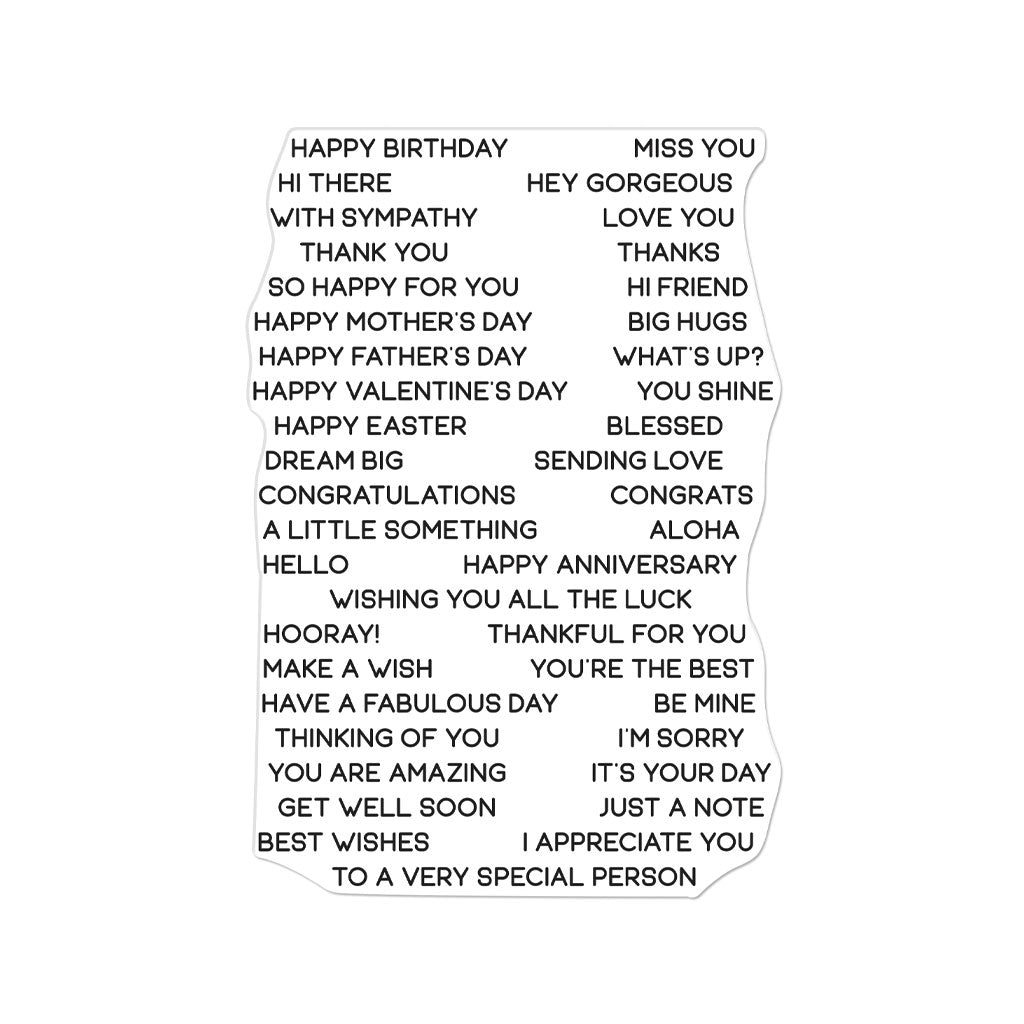
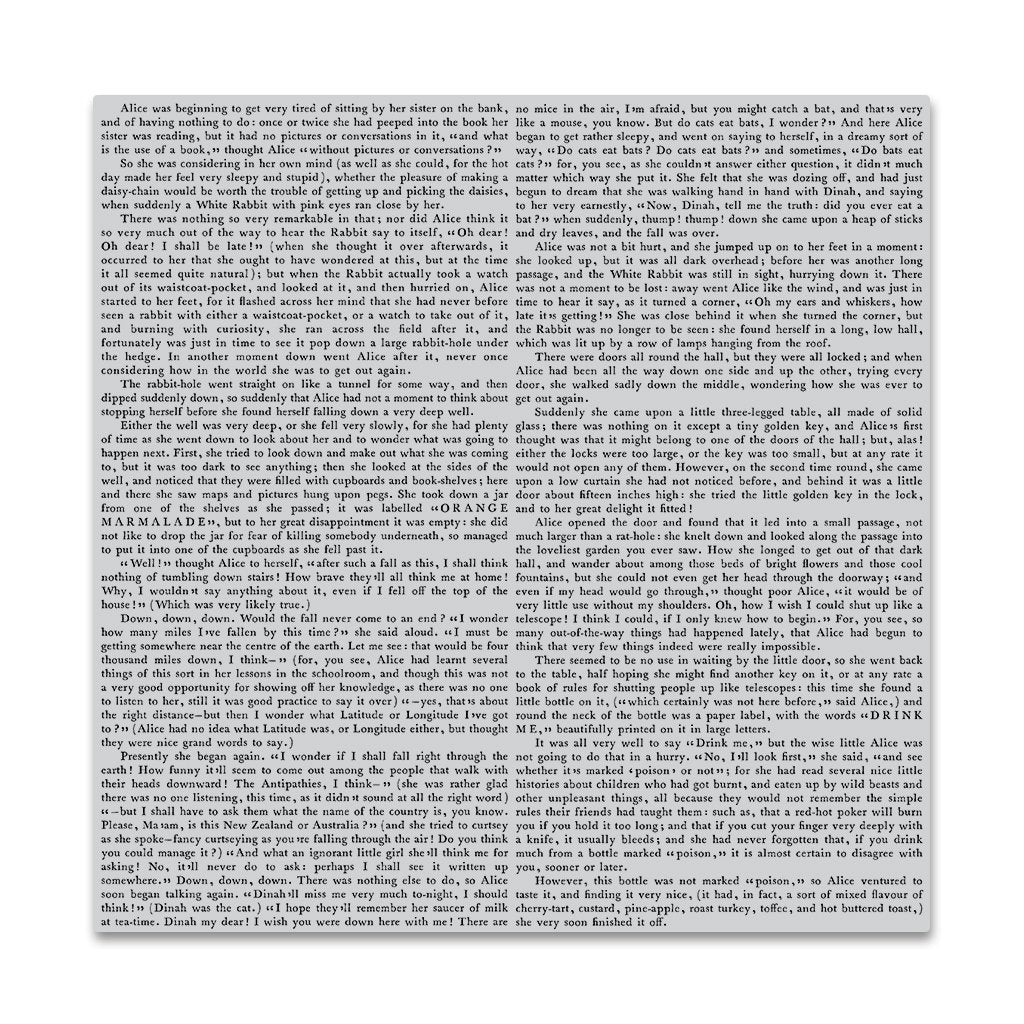
This card features the X from the Letters W-Z Fancy Dies and O from the Letters O-R Fancy Dies . I also use Novel Prose Bold Prints , Everyday Sentiment Strips and the Sentiment Strips Fancy Die .

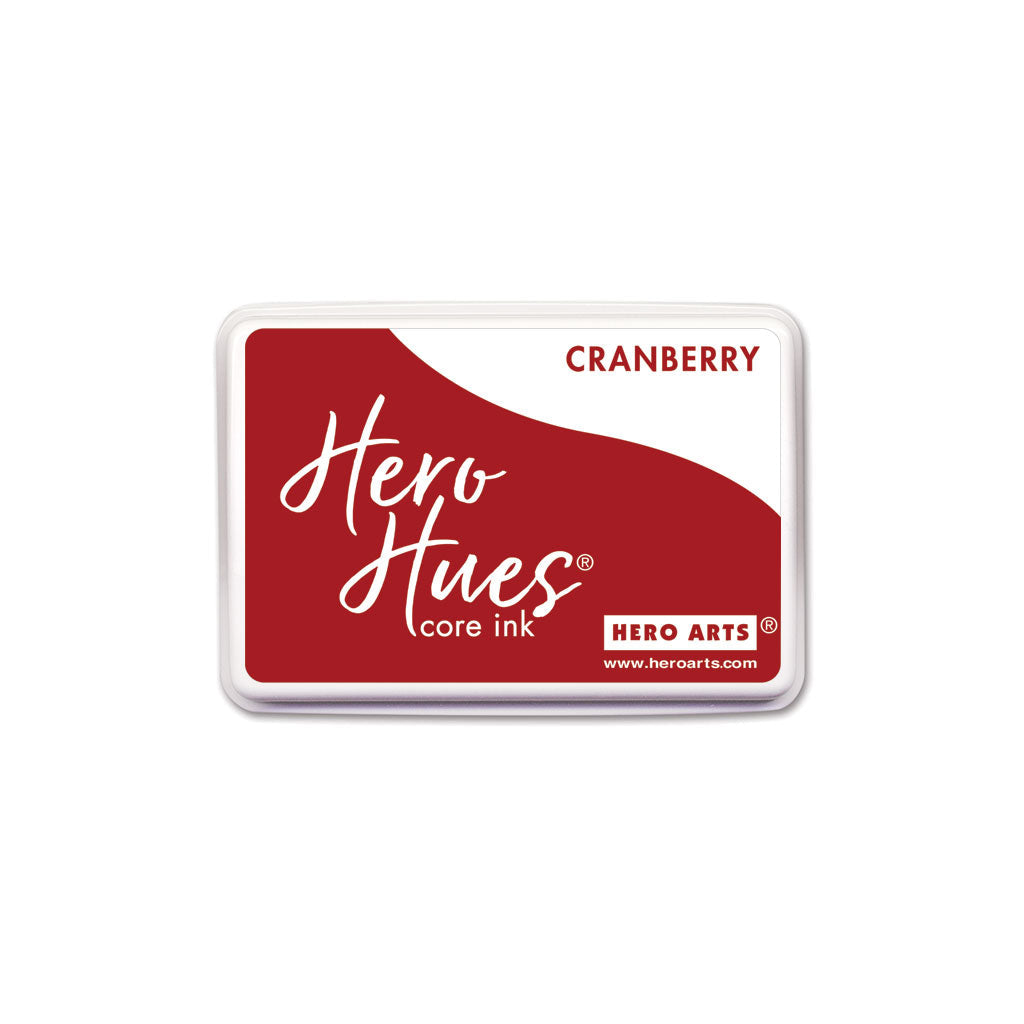
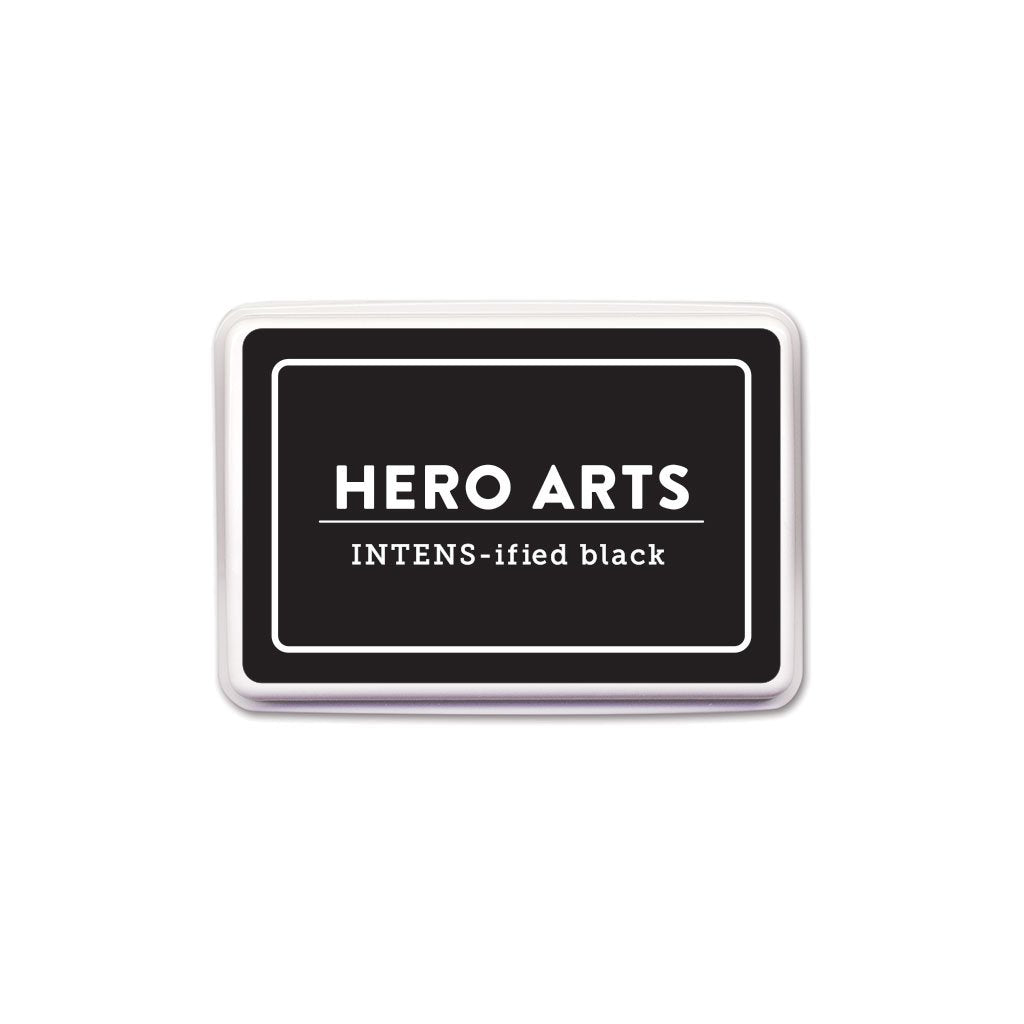
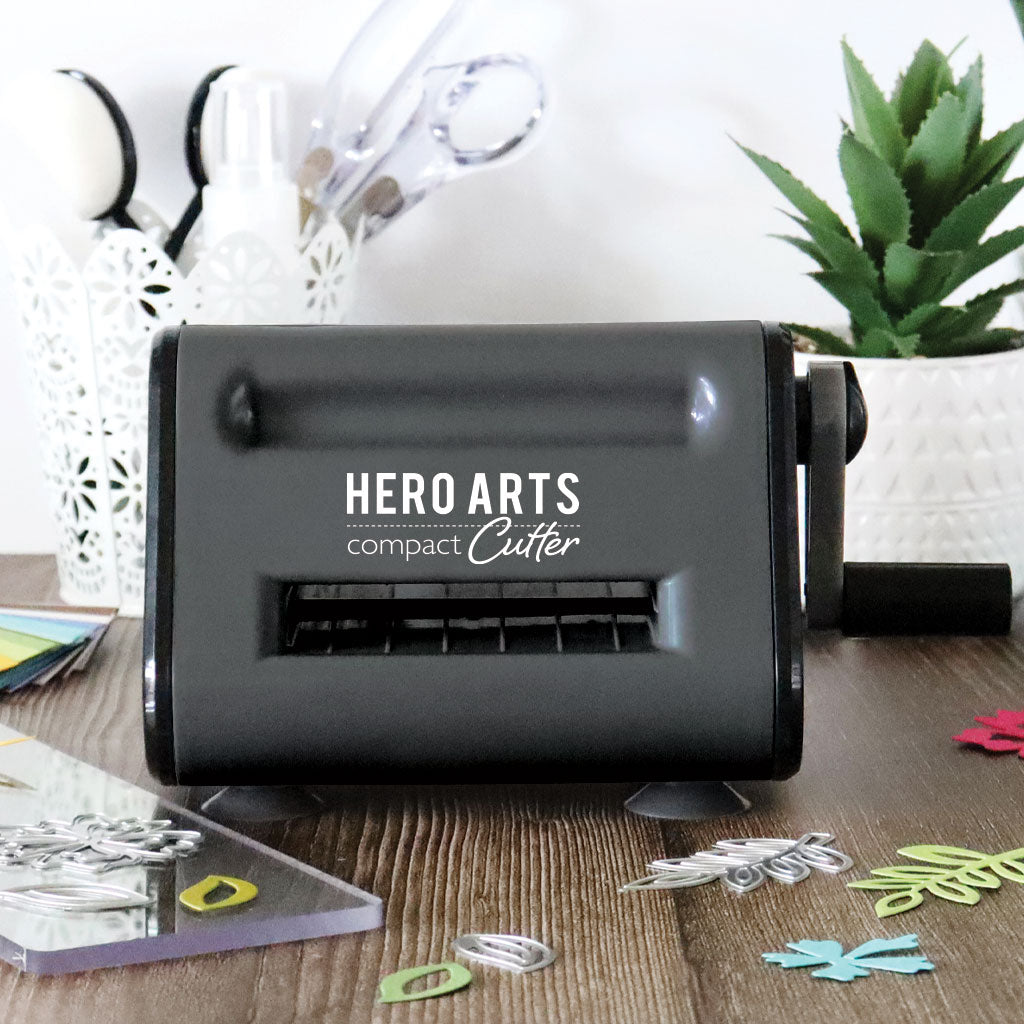
To begin, I created my own Peony cardstock by rubbing my Peony ink pad across Dove White cardstock. I did not have the Peony cardstock on hand, but you can use it if you have it. I inked around a A2 panel of Cherry cardstock with Cranberry Core ink. I then stamped the Novel Prose Bold Prints using Intens-ified Black Ink. Using the Compact Cutter , I then die cut 8 Os - 4 Dove White and 4 Peony, followed by 10 Xs - 5 Dove White and 5 Passion Flower cardstock. I then paired each die cut by letter and began to glue them with a slight offset along the right side.
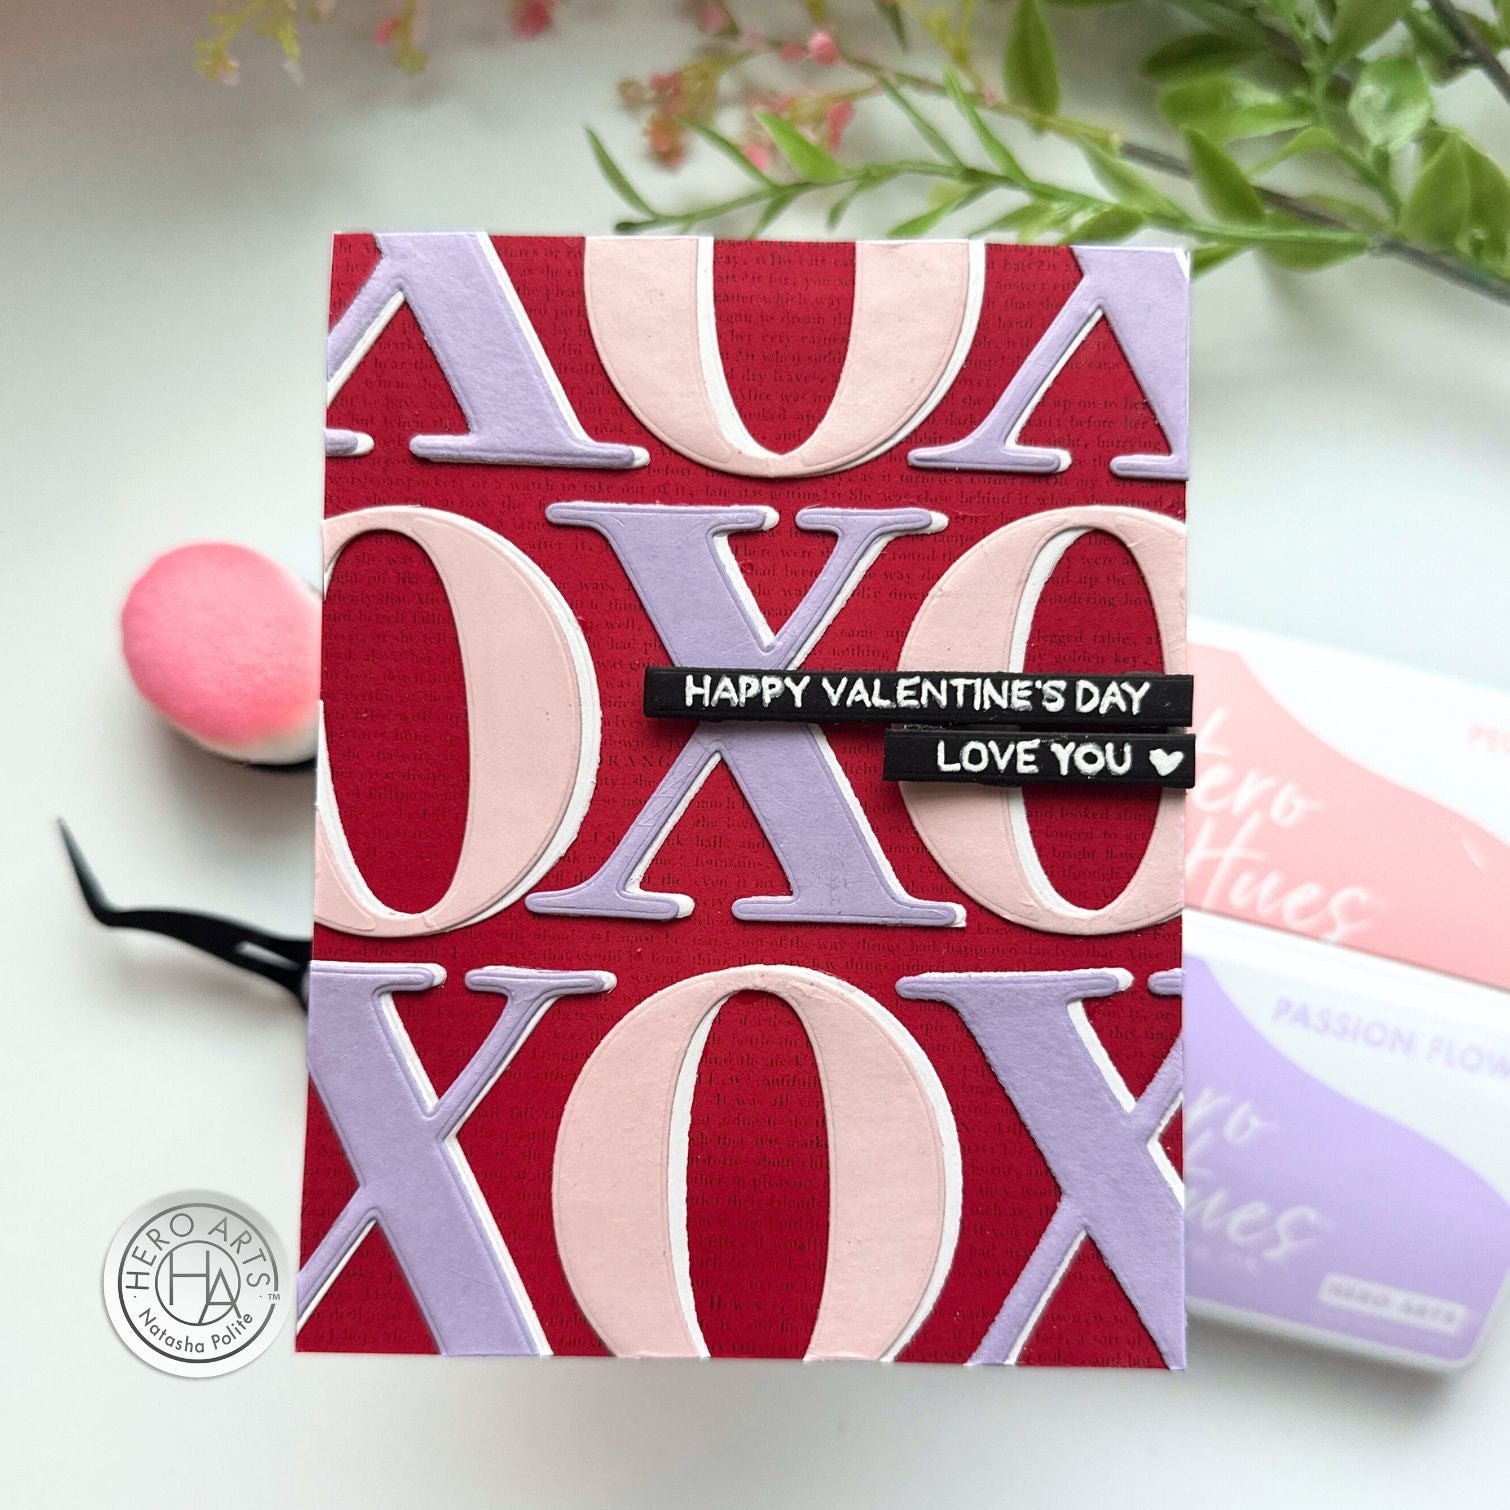
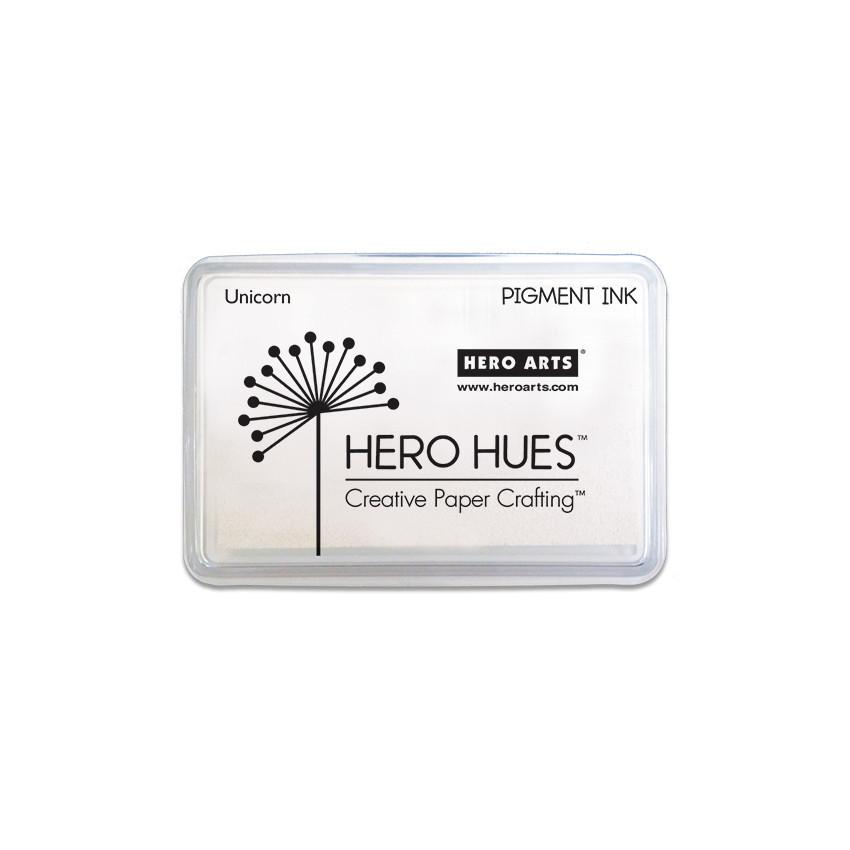
Once those were completed, I adhered them to the A2 card panel using Precision Glue . Setting that aside to dry, I stamped the Everyday Sentiments using Unicorn pigment ink onto Pitch Black cardstock. I then die cut the strips and went over each sentiment using a white gel pen to create a more handwritten look. I popped those up onto the card front using foam tape and aligned them to the right edge of the card.

I find this card to be simple, yet pack a punch. From the subtle details of the words in background, to all of the color throughout the card, I am sure someone would love to receive this.

I hope that I have provided you with some inspiration today. Have a crafty day!

Click on products to shop:
DF168 Letter O-R Fancy Dies (F) |...
DF170 Letter W-Z Fancy Dies (F) |...
CM673 Everyday Sentiment Strips |...
DF087 Sentiment Strips Fancy Die (F)...
CG839 Novel Prose Bold Prints | Hero...
AF600 Peony Core Ink Pad | Hero Arts

AF624 Cranberry Core Ink | Hero Arts
AF435 Intens-ified Black Ink Pad |...
AF249 Unicorn Pigment Ink | Hero Arts
PS300 Hero Hues Premium Cardstock...
PS303 Hero Hues Premium Cardstock...
PS337 Hero Hues Premium Cardstock...
PS323 Hero Hues Premium Cardstock...
PS325 Hero Hues Dove white | Hero Arts
GW102 Precision Glue XL | Hero Arts
HT100 Hero Tools Compact Cutter...

Leave a comment

Please note, comments need to be approved before they are published.


  • Infinity Trees Christmas Card Tutorial with Stamping and Ink Blending

    BP-377

    Infinity Trees Christmas Card Tutorial with Stamping and Ink Blending

    Hey there, crafty friends! It's Marie again from Marie Nicole Designs. Are you ready for Christmas? I believe that it is never too early to begin your Christmas crafting. I try to make Christmas cards throughout the year so when December rolls around, and I’m already overwhelmed by all the events going on, I have a stash already made. Today, I’ll be sharing an easy Christmas...

  • Gift Boxes Christmas Card Tutorial with Gift Boxes and Bags Etched Dies

    BP-001

    Gift Boxes Christmas Card Tutorial with Gift Boxes and Bags Etched Dies

    Hello crafters! It’s Lisa Tilson here with you today to share a card using the Snowflake Kisses Collection by Lisa Horton. I am going to be doing a step-by-step photo tutorial showing you how to create a Christmas card using the Gift Boxes and Bags Etched Dies and I’m using a more unconventional colour palette to make it. Sometimes it’s fun to create with colours...

  • Debossed Snowflake Christmas Card Tutorial with Snowflake Background Etched Dies

    Categories:Die Cutting

    Debossed Snowflake Christmas Card Tutorial with Snowflake Background Etched Dies

    Hello there, Michelle Short here to share a step-by-step tutorial using the Snowflake Background Etched Dies from the Lisa Horton Snowflake Kisses Collection. The Snowflake Background Etched Dies are two layers which you can cut as a base layer and a top layer. For my card today, instead of having die cut layers, I thought that I would deboss the design. DEBOSSING THE DIE Place...