

Posted by Channin Pelletier
on January 09, 2024


Hello friends!! It’s Channin here and in today’s video I’m creating two Valentines out of one blended panel featuring the color layering floral stencils from the new January My Monthly Hero Kit .
Watch below or on the Hero Arts YouTube channel.
To create this card I first ink-blended over a 8 1/2” x 5 1/2” panel of Dove White cardstock with the first stencil from the Color Layering Floral Background Stencils ( Classic & Premium ) in Ultra Pink Core Ink. I then positioned stencil #2 over the panel and ink-blended with Raspberry Jam Core Ink.

I continued this process for the other three stencils with more inks (stencil #3 - Fruit Punch , stencil #4 - Pine , stencil 5 - # Cranberry ). After I finished ink-blending the background I trimmed the panel down to 4 1/4” x 5 1/2”. I then die-cut the panel with the Heart Window Frame Cut ( Classic & Premium ) and set the heart and panel aside.

Next, I stamped two sentiments from the Love Messages clear stamp set ( Classic & Premium ) in Embossing & Watermark Ink onto Pitch Black cardstock. I then poured Detail White Embossing Powder over and then heat set with heat tool. Next, I fussy cut the sentiments out and set them aside.
I then die cut two “love” and “you” out of Dove White cardstock with the Love You Fancy Dies ( Classic & Premium ). Next, I adhered the “love” diecuts and the “you” die cuts together to add a bit of dimension and then set the sentiments aside.

I then ink-blended the front of an A2 top-folding Dove White card base and a 4” x 5 1/4” panel of Dove White cardstock with Ultra Pink . Next, I adhered the ink-blended panel onto an A2 top-folding white card base . I then adhered the heart, the “you” die cut and one of the heat-embossed sentiments onto the card front with foam adhesive to finish the card.

Next, I adhered the floral background panel over the ink-blended card base with foam adhesive. I then adhered the “love” and the remaining heat-embossed sentiment onto the card front with foam adhesive to finish the card.
I hope you enjoyed my cards. Thank you so much for stopping by!

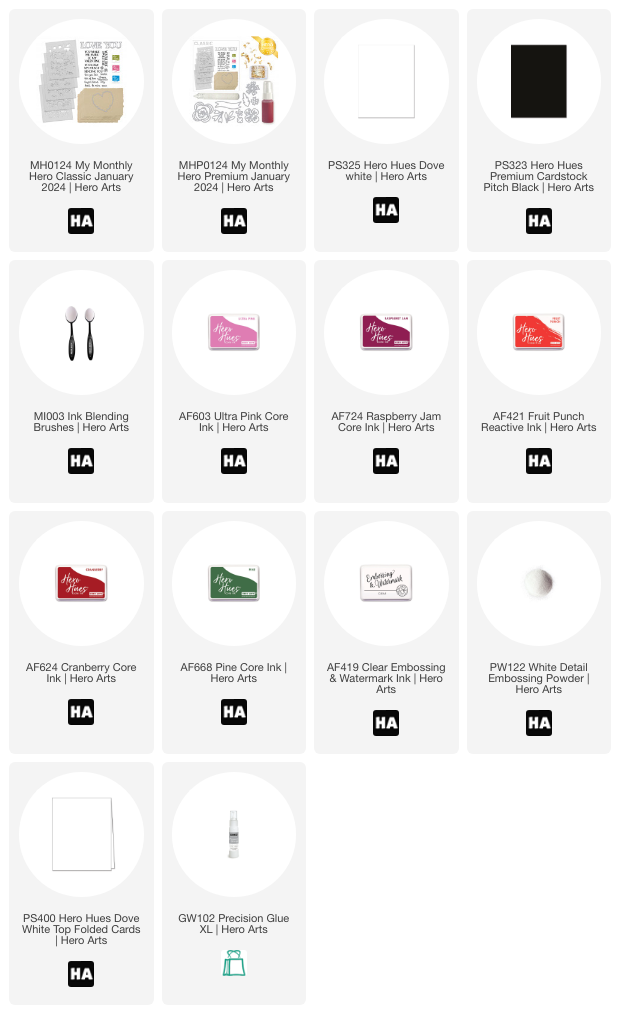
Click on products to shop:























































































1 comment
Beautiful cards! I can’t pick a favorite.