

Posted by Michelle Short
on October 15, 2018

Hello there, Michelle here and today I have a card and video to share using the Holiday Foliage Bold Prints . Instead of using it as a background, I thought it would be nice to incorporate it into the focal point.
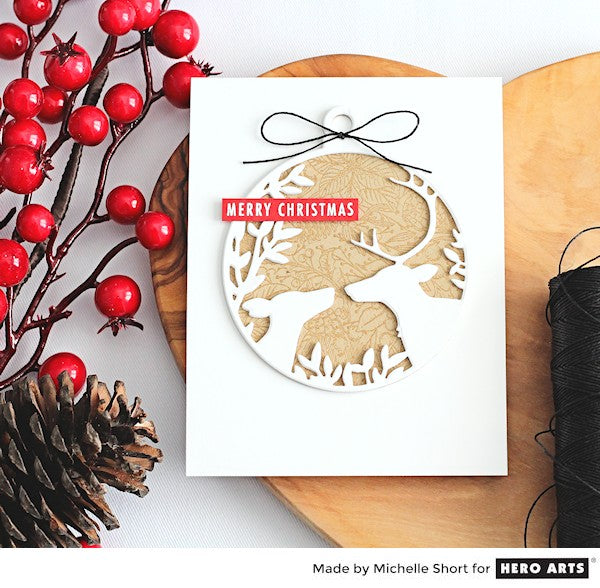
You can watch the video tutorial below to see how I made the card:
If you are having trouble viewing the video, please try watching it here over on YouTube.
I started off by stamping the Holiday Foliage Bold Prints on to Kraft cardstock with Versamark Ink. I applied clear Ultra Fine Embossing Powder and heat set. I cut this piece using the outside die (just the ornament layer) from the Deer and Ornament Fancy Die . I then placed the inside piece back in and die cut this three times from white cardstock.
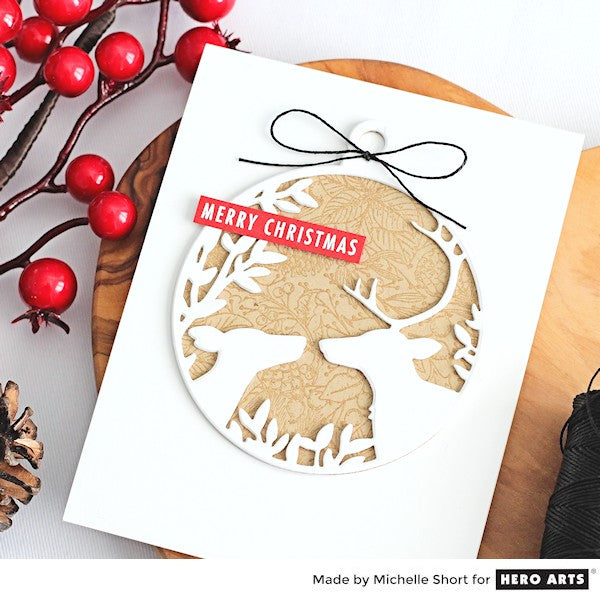
I adhered the white deer layers on to the background ornament piece with liquid glue. This piece was then added to a white A2 card base with tape runner. I took the 'Merry Christmas' sentiment from the Off-Beat Holiday Messages and stamped this on to a piece of red cardstock with Versamark Ink . I applied White Detail Embossing Powder and heat set. This was cut in to a strip with a ruler and craft knife.
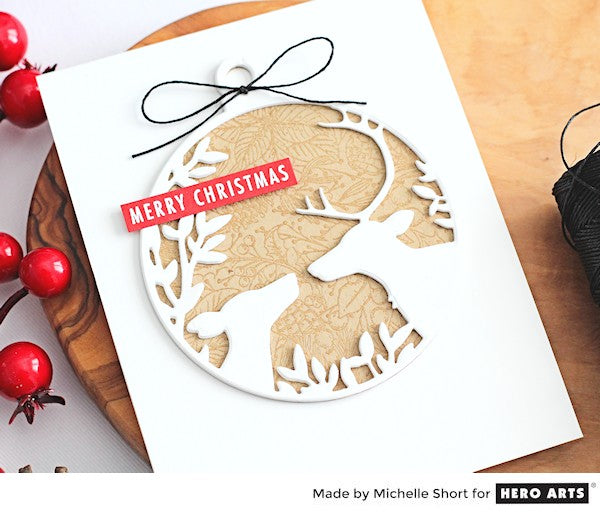
The sentiment was added to the card with foam tape and then I added black twine to the top of the ornament to finish.
Happy stamping!























































































14 comments
This is a delightful card. You did an excellent presentation. I throughly enjoyed seeing you create this card.
Very attractive card. Thanks for the idea.
Very pretty card, love the background focal. Thanks for the creative idea.
This is so beautiful, simple and elegant. Sometimes less is more and you nailed it with this one. I will be making some of these. I send over 200 Christmas cards to friends and family and I need something that doesn’t take forever to make. Thank you for a wonderful card. Love this one.
You did a wonderful job on this elegant card. Thanks for the reminder to use our background stamps in this way, and also the hint to clear emboss the image for extra shine and interest.