

Posted by Michelle Short
on August 21, 2017

Hello there, Michelle here and today I have a card to share using the Zodiac Birthday stamp set which was released as an add-on for the August My Monthly Hero kit. I started off by taking a piece of paper from the Pool Mix Layering Papers collection and die cut this using the 5th largest die from the Rectangle Infinity Dies set . I then took all of the star signs from the Zodiac Birthday set and stamped these on to it using Versamark Ink .
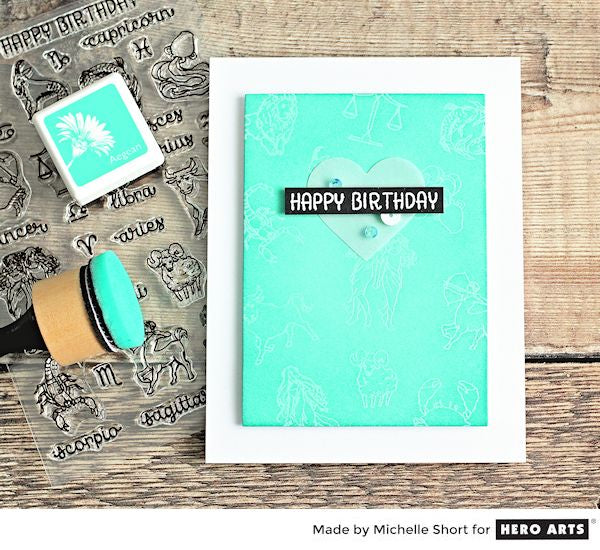
I used all of the signs as I am not making this card for any one in mind but if you knew in advance, you could repeatedly stamp their star sign for the background. I applied Sparkle Embossing Powder and then heat set it. I then took the Aegean Bold Ink and with an ink blending tool, blended the ink over the piece, making it darker towards the edges. The panel was added to a white A2 card base with foam sheet.
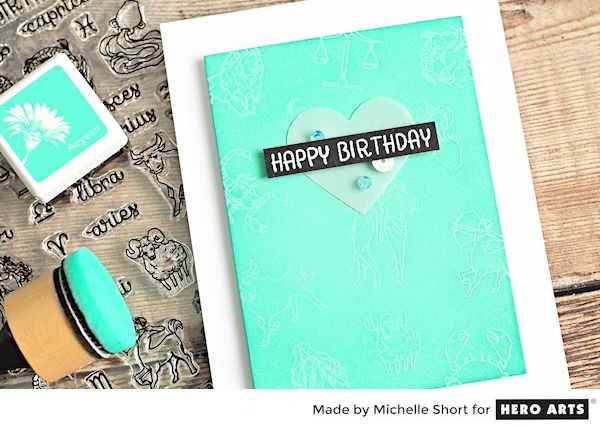
On to a piece of black cardstock, I stamped the 'happy birthday' sentiment using Versamark Ink and applied White Embossing Powder . This was heat set and then the piece was cut in to a thin strip. I added this to a vellum heart that was cut with the 4th smallest of the Nesting Hearts Infinity Dies . This piece was then added to the card. To finish off, I added a sequin from the Champagne Ombre Mix along with two from the Frosty Ombre mix (both will be available in the shop on the 23rd August).
You can see how I made the card in the video here:
(If you are having problems viewing this video, please try watching it HERE on YouTube)
Thanks so much for stopping by today, happy stamping!























































































9 comments
Subtle, but oh so effective. Thanks for the ideas.
I really enjoyed your video, Michelle! I’d love to have a stash of this pretty card ready for birthdays!
Love this! I think the zodiacs are perfect for personalizing a card.
Looks great!
Hi Michelle,
Love the card and your technique, especially with the Tsquare and ruled mat. That’s how you keep things so straight!
Question – when you cleaned up the pile of embossing powder, what tool did you use? It looked like a lint brush.
Thanks!
Jenny